

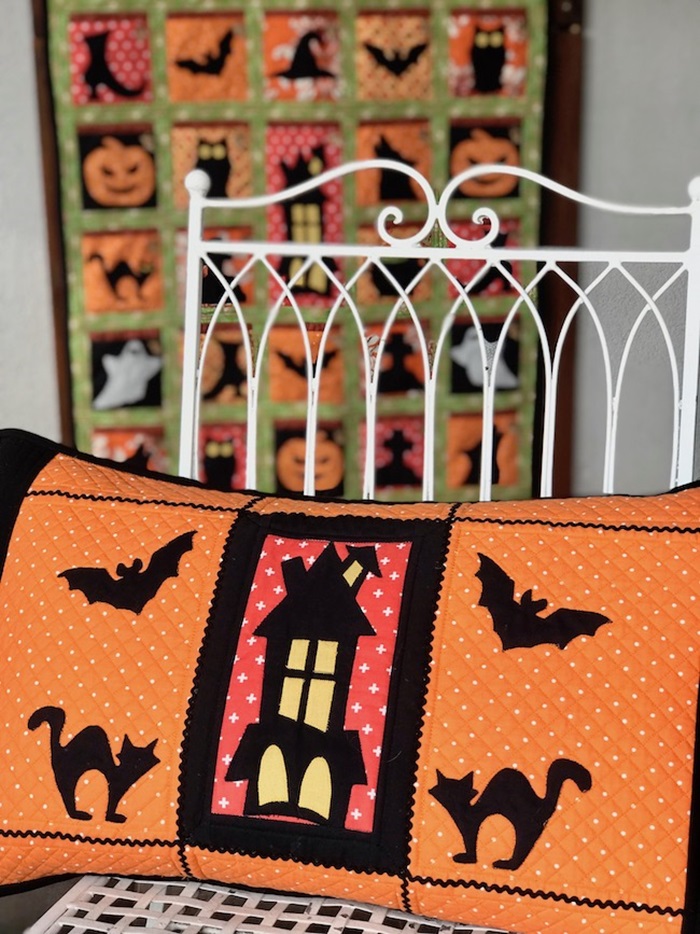
hmm… I have to say that… I never liked Fall until I met American women <3 Since this moment I love Fall, Halloween and all Halloween’s and Fall’s stuff, flowers, colors etc. Obviously I love sewing things on this season. Both for Halloween and for Fall. Two years ago I sewed Halloween Calendar that you can see behind the pillow 31 pockets and something sweet in each. Such exercises before the „advent calendar” hahaha . One year ago I started to sew pillow. Problem was that I trimmed to small pieces on the both sides and of course I put this not finished „object” to the dark box hahaha. But couple days ago I remembered that I have an unfinished front of a nice pillow. I literally needed half an hour to finish everything. It’s amazing how creative you can be if you act at the right time. Here it is!
To applique I used this super cute set of Halloween templates. And now – tutorial : „How to trim the PERFECT length binding”. I always had a problems – sometimes my „end of binding was to long ( often ) sometimes it was to short. But now – always length of binding is perfect! So let’s get started Link to BINDING TOOL

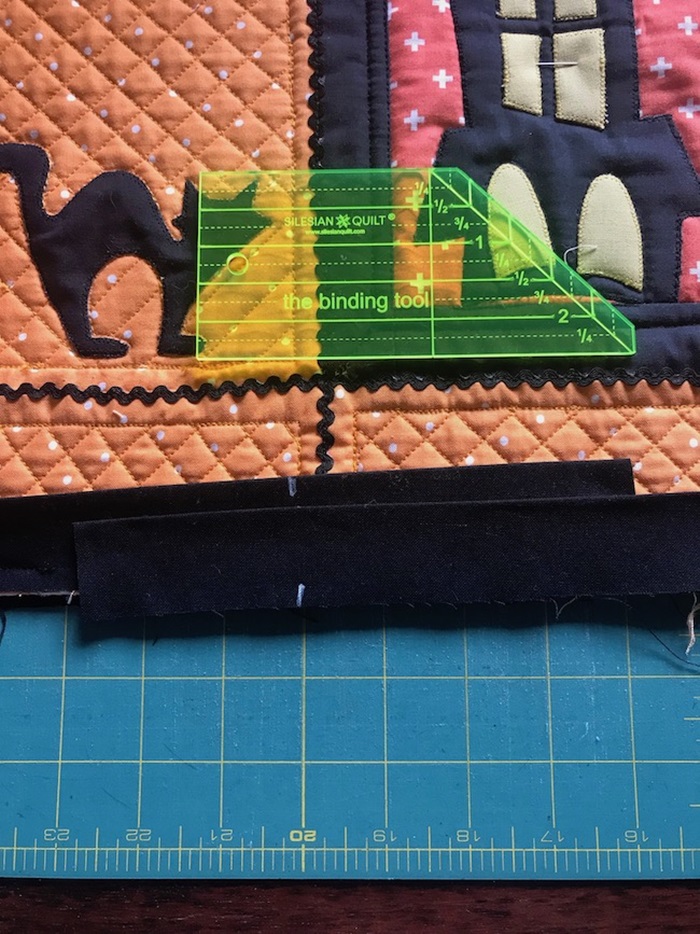
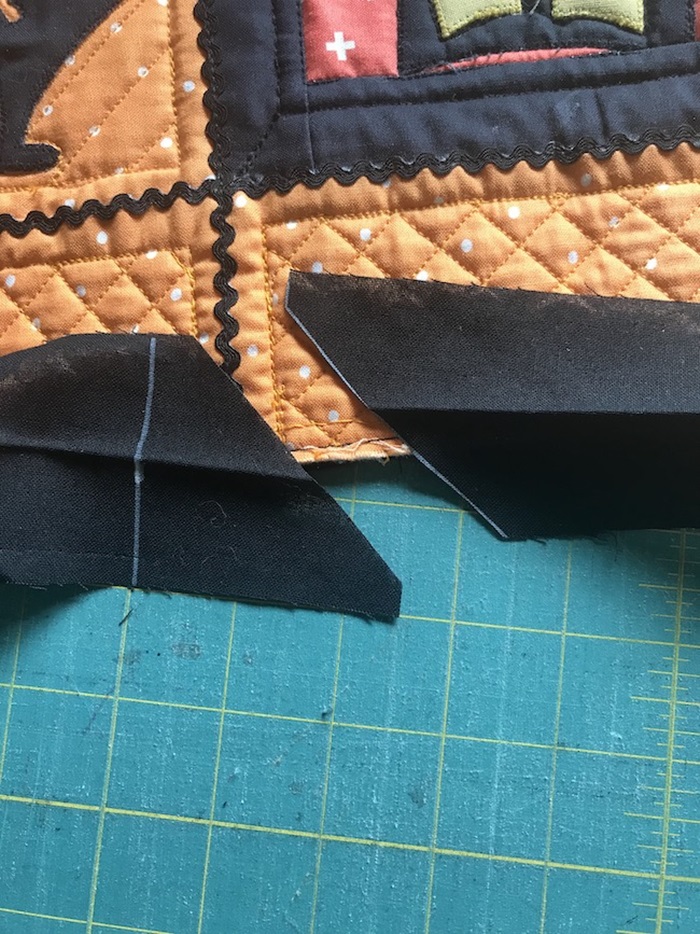
overlap the two ends of the binding ( with a little stretching) and mark a distance of no less than 3 inches from the edges of both ends. On the right side of the binding, draw lines perpendicular to the edges through these points at both ends.

Put the binding tool on the drawn linen trim it as shown in the picture – the line on the ruler must cover the line drawn on the binding.
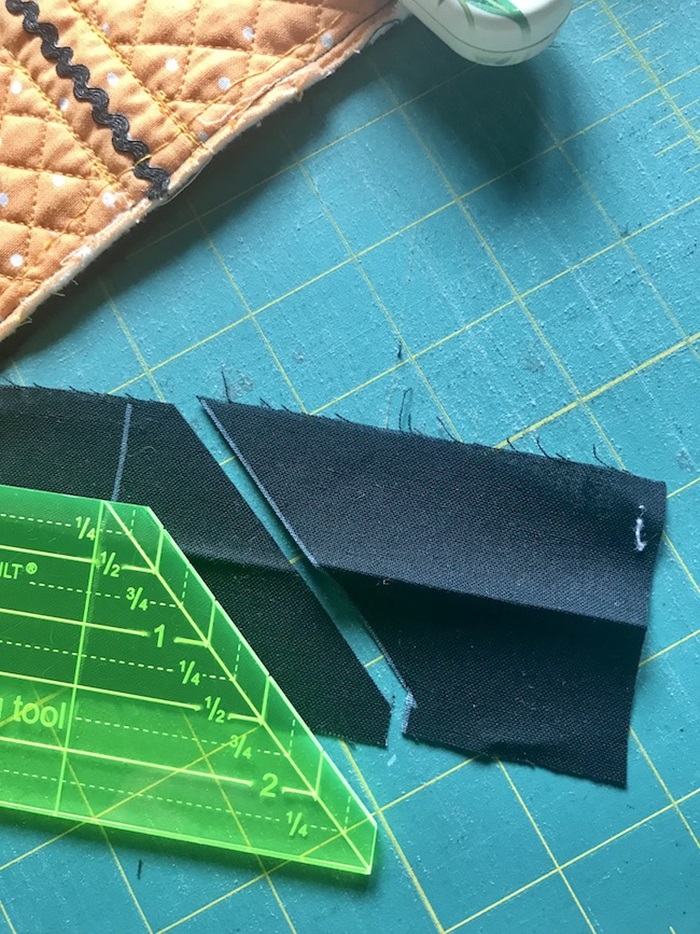
Trim at the edge of the ruler. ( In the previous photo you can see the cut line drawn.)
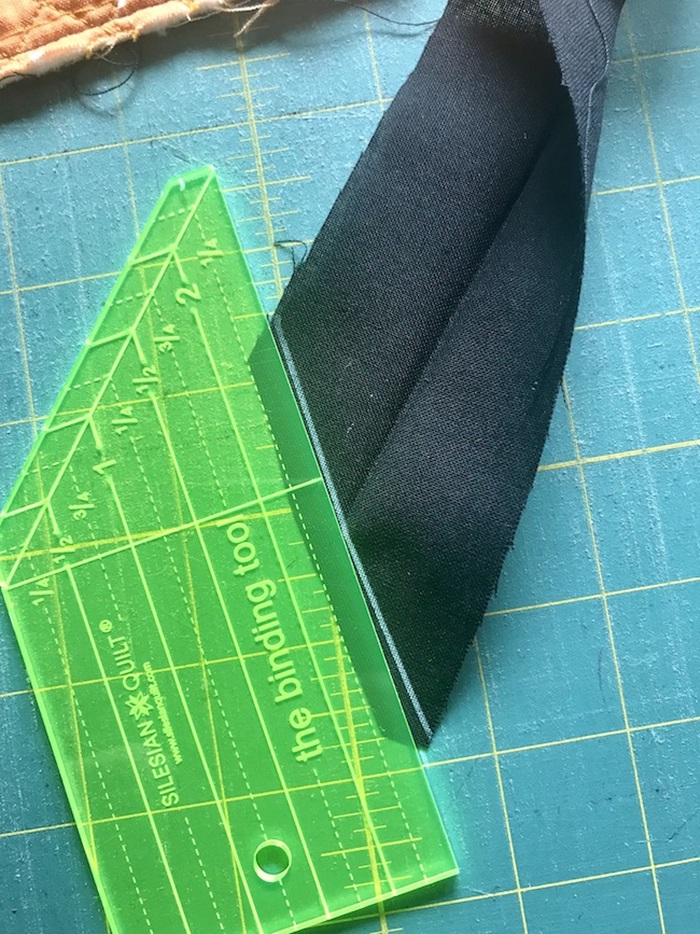
now turn the ruler upside down and place it as you see in the picture.( the short edge of the ruler must cover the perpendicular line you drew that you drew at the beginning.
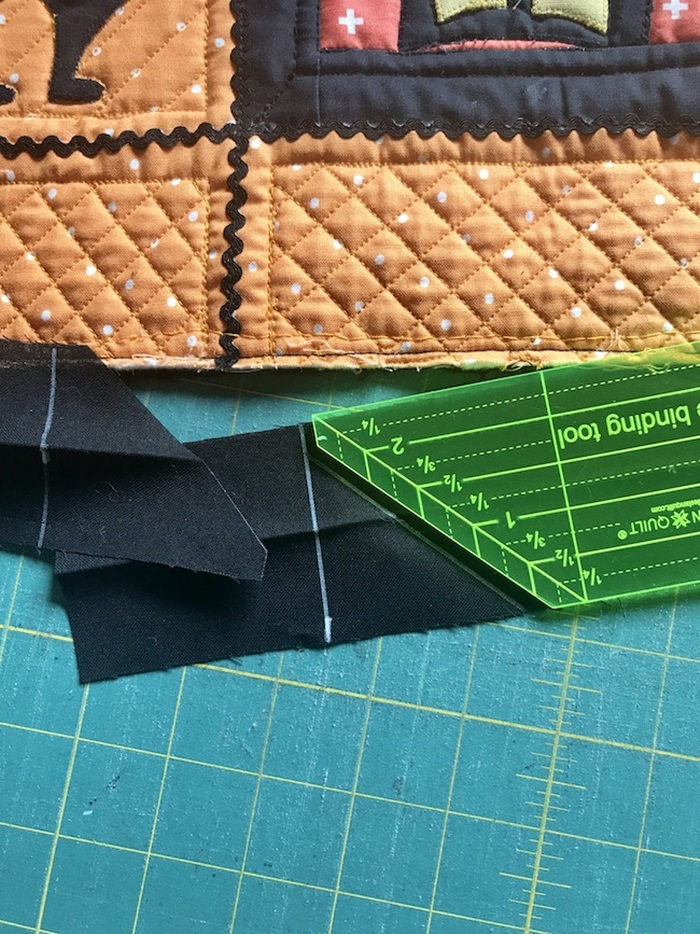
and trim it the way you see it in the picture.
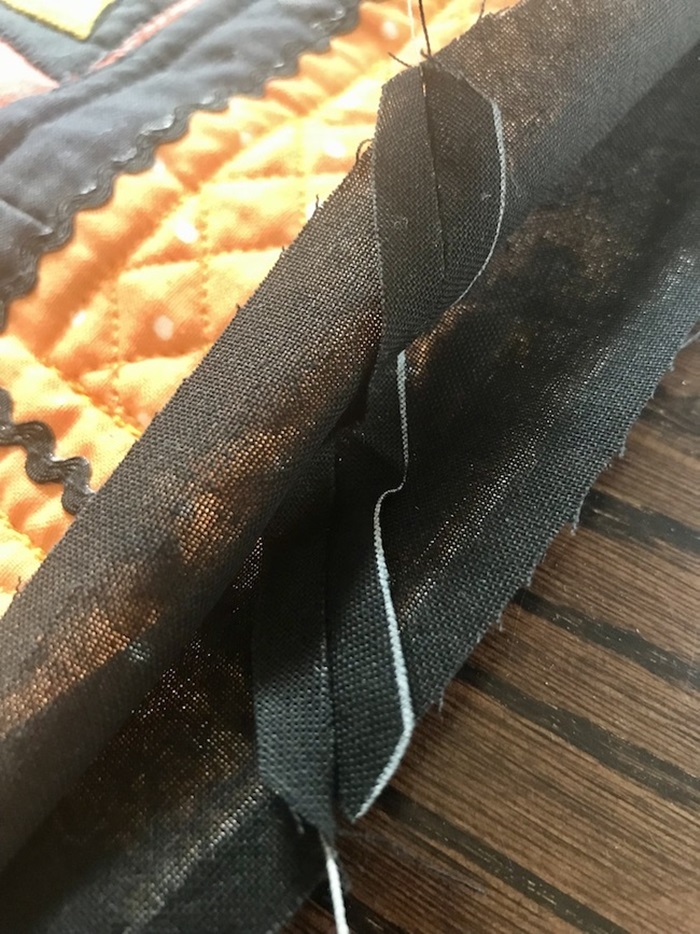
to neatly stitch the ends of the binding you can draw a line 1/4 inch from the edge ( on the left side)
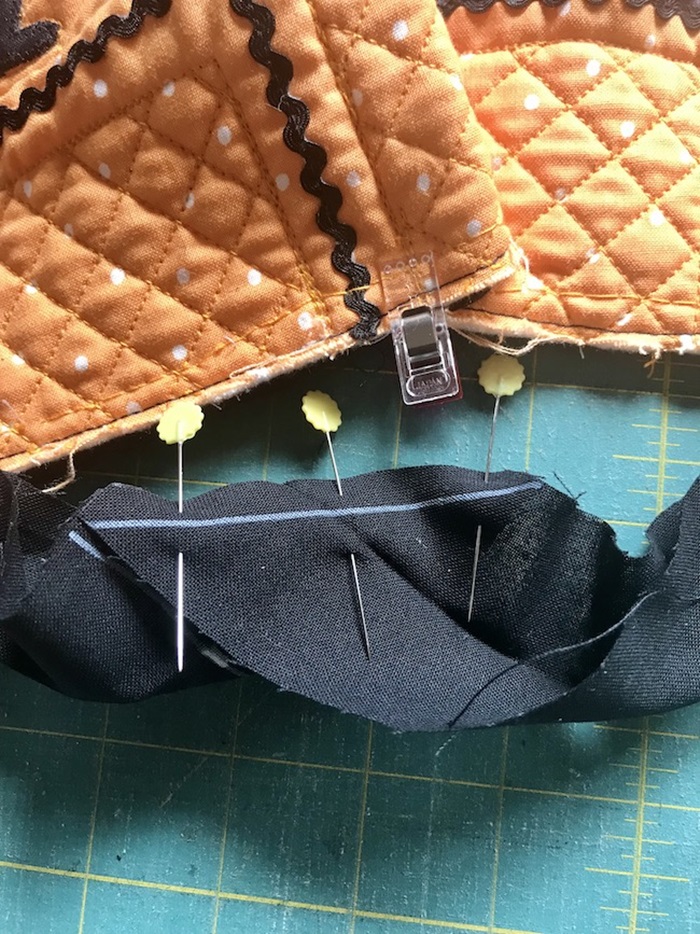
Put the ends of the binding with the right sides together and pin them for security
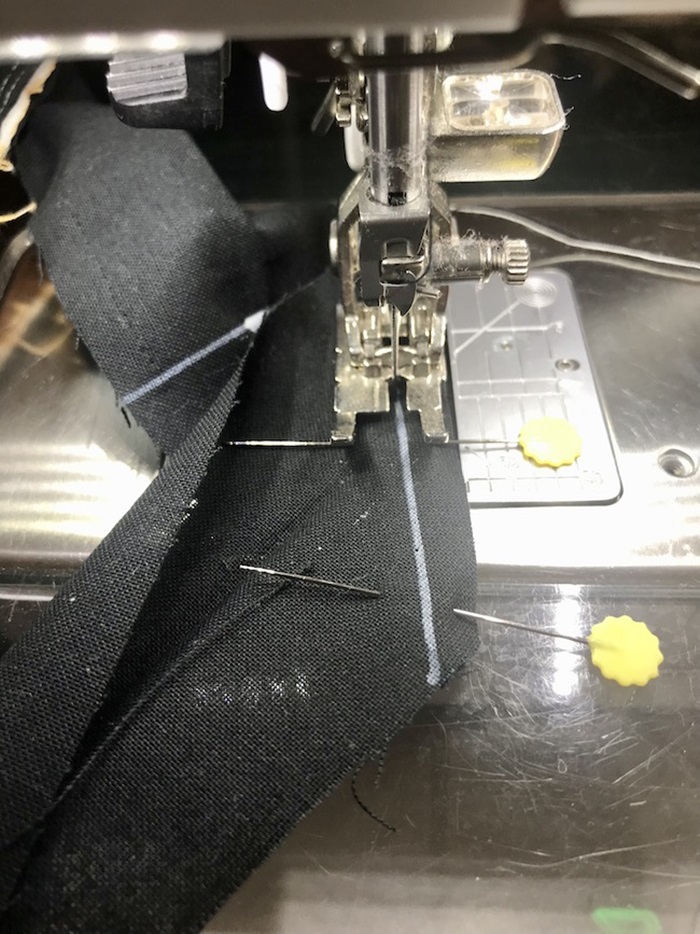
Sew it on the drawn line
Open the seam and press. and fold the binding and press this place
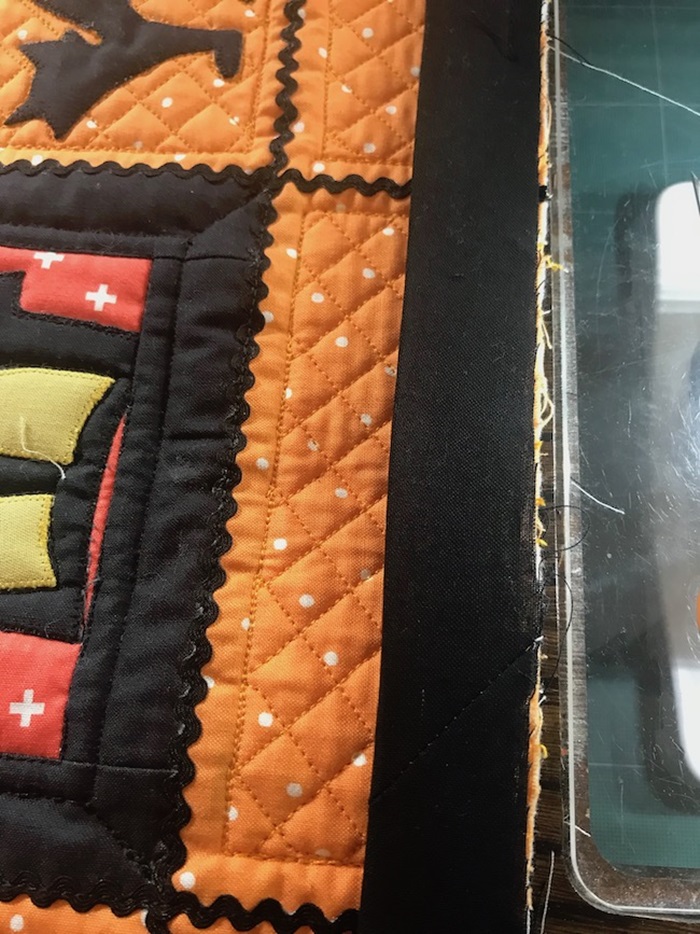
Looks very good – not too short not too long- just perfect
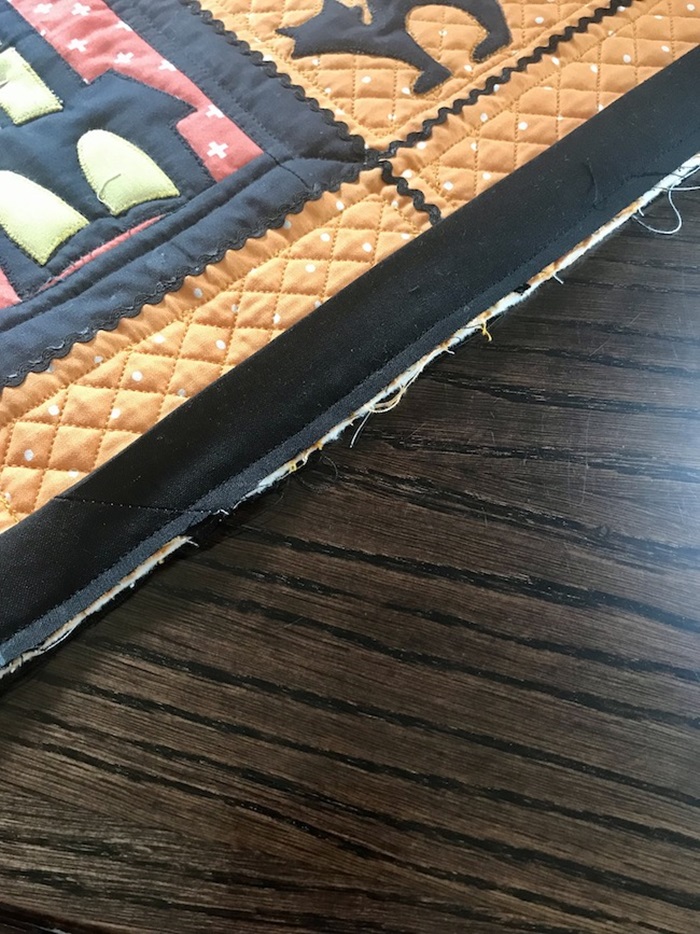
Finish sewing the binding
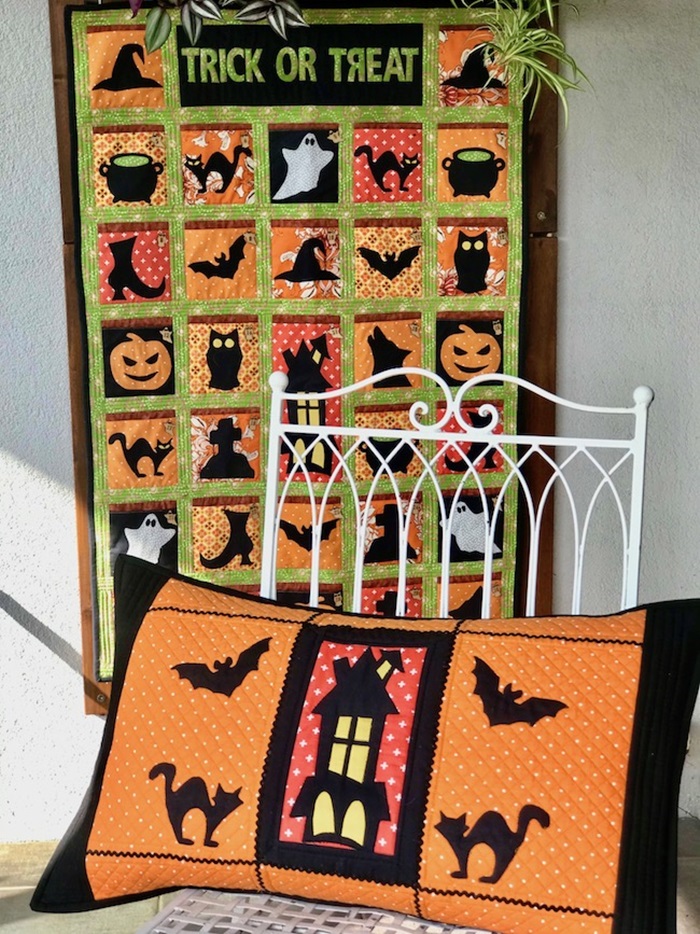
As you can see, this set can be used in many ways: for pillows, quilts, table runner, placemats, mug rugs, etc.
I hope my tutorial „how to trim prefect length binding was helpful for you. If you have any question – write to me and I’ll try to help you. Take care of yourself – Margaret


 FRIWITCH Margaret Lehmann